When I first started getting into electronics and programming, Arduino was the best way to start learning. Of course, there was no STEMBoT back then. In fact, I still have a number of programs and schematics for projects that I finished long ago.
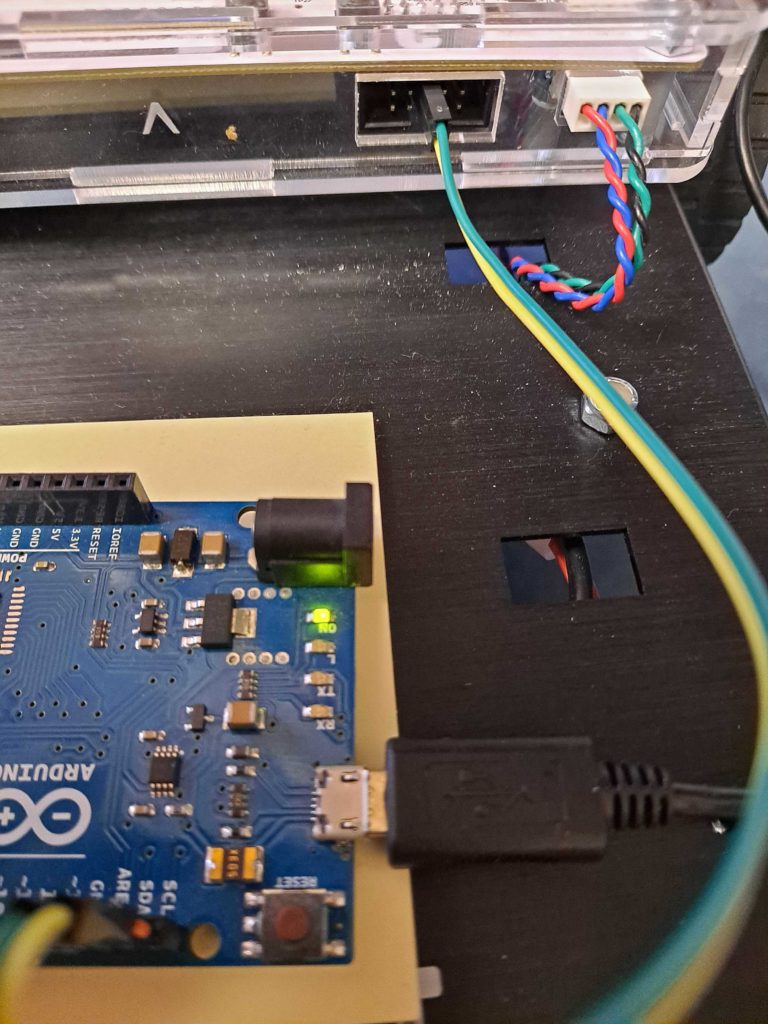
One of the best features of the STEMBoT is its UEXT headers for plug and play modules. These headers are not limited to the modules created by SBI, and can be used to interface with any number of embedded systems, such as Raspberry Pi, Micro-bits, and Arduino. For this project, I’ve connected an Arduino to my STEMBoT through the two-wire interface.
At a minimum, you’ll need a STEMBoT, an Arduino of your choice, two wires, and the Arduino IDE installed on your computer. Plug in your Arduino and upload the “slave_sender” program found under File->Examples->Wire. This will set up the Arduino to respond to requests by the “master” which in this case is the STEMBoT. The Arduino is given an address of 8 (this can be changed in the line of code Wire.begin(8); ). When responding to requests the Arduino will return up to 6 bytes (seen in the line Wire.write(“hello “); ).
Connect the two devices by attaching one wire from SCL pin on your Arduino (it should be marked on the board itself) to the center pin of one of the plug-and-play headers, next to the cut-out part of the header’s plastic. [This cut-out is called the “key” and it’s there to make sure your plug-and-play modules aren’t plugged in the wrong way!] Then attach the second wire from the Arduino’s SDA pin to the plug-and-play header pin next to the first pin.

Once that’s set up, make sure your STEMBoT is plugged in and fire up PuTTY. Type in the following lines of code:
import machine
i2c=machine.I2C(1,freq=9600)
This will create a serial communication object (i2c) on bus 1 (the left and right plug-and-play headers) with a bit rate of 9600 (higher speeds work too, but this one is very common and works with nearly all serial communication devices).
Next, type in:
i2c.scan()
This will scan the bus for all connected devices. Since the Arduino has an address of 8, PuTTY will print out [8] once the scan is complete. If you have more devices connected, there would be more results, but at a minimum the Arduino’s address should be returned. If not, make sure your connections are correct.
Finally, input:
i2c.readfrom(8,6)
This line will read 6 bytes of information from address 8. If all goes well, PuTTY will print the line b’hello ‘, which is the bytes-formatted data which was sent from the Arduino. If you wanted to read only the ‘hello’, you could type in i2c.readfrom(8,5) and it would omit that final space.
To turn the bytes object into a string, save the data and append it with the .decode() method, like so:
info=i2c.readfrom(8,6)
info.decode()
The example code provided by Nicholas Zambetti in the Arduino IDE can be easily modified to change the address and the text that’s sent, and can be copied over into existing projects to get the best of both worlds, Arduino and STEMBoT!
